


Tesla black paint restoration is vital for maintaining vehicle aesthetics. Prepare by cleaning, inspecting damage, and gathering tools like sandpaper, polish, and a buffer. Sand damaged areas, buff automotive polish for a glossy finish, and consider professional repair for severe damage.
Tesla owners often take pride in their car’s sleek, black exterior. However, improper washing or lack of care can lead to damaging scratches, swirls, and fading, leaving the paint looking dull and lifeless. This article guides you through understanding the common causes of Tesla black paint damage and offers a comprehensive step-by-step restoration process. By following these expert tips, you’ll learn how to restore your Tesla’s glossy black finish, ensuring it gleams like new.
- Understanding Tesla Black Paint Damage Causes
- Preparing for Effective Restoration Process
- Step-by-Step Guide to Restoring Tesla Black Paint
Understanding Tesla Black Paint Damage Causes
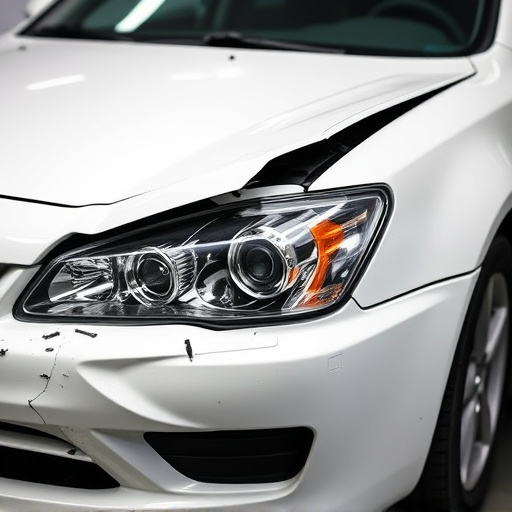
Tesla black paint damage can arise from several factors, especially if proper care and washing practices aren’t followed diligently. One common cause is exposure to harsh cleaning chemicals or improper washing techniques, which can strip away the protective layers of the paint, leaving it vulnerable to further damage. Another significant contributor is minor scratches, dents, or swirls caused by bird droppings, tree sap, or even stone chips during regular driving. Over time, these microscopic imperfections can accumulate and lead to an unsightly, faded appearance.
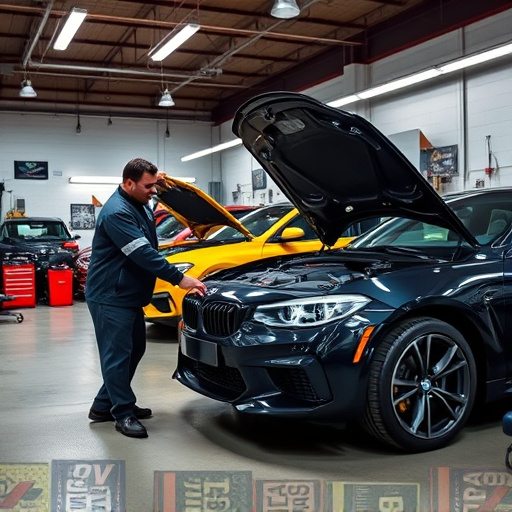
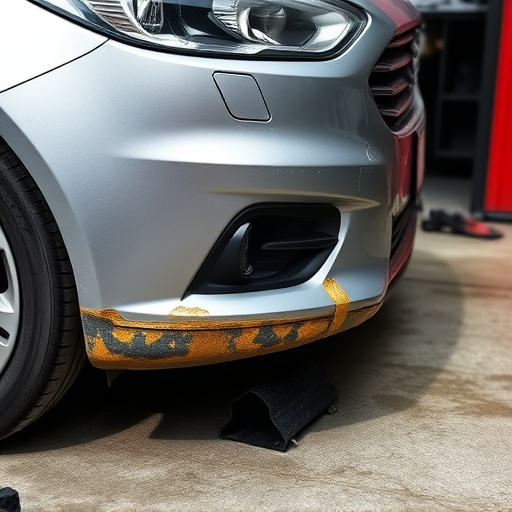
Moreover, car collision repair isn’t uncommon in Tesla owners’ experiences. High-speed encounters with debris on the road can result in significant paint damage, requiring professional car paint repair to restore the vehicle’s original gloss. Even minor fender benders or door dings can leave visible marks that, if not addressed promptly, might require more intensive restoration methods, including dent removal techniques, to achieve a seamless finish.
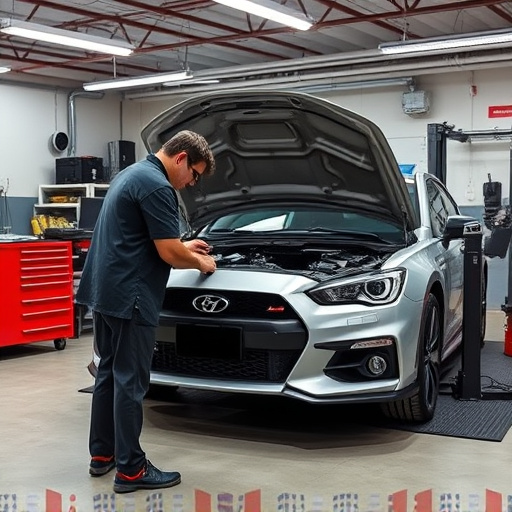
Preparing for Effective Restoration Process
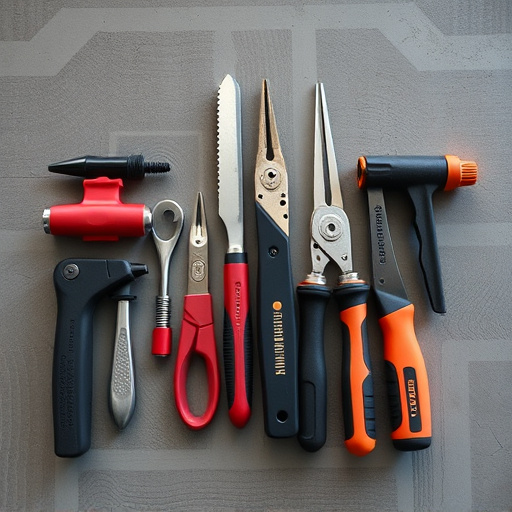
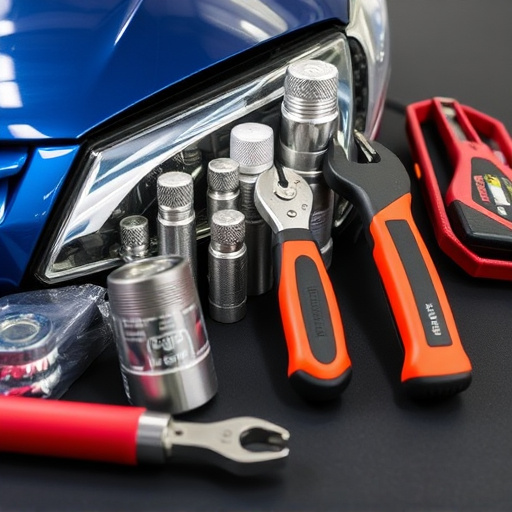
Before beginning any restoration process, especially for Tesla black paint, it’s crucial to prepare your vehicle and workspace. This involves gathering all necessary tools and materials, ensuring a clean and dust-free environment, and inspecting the damage thoroughly. Start by washing the car to remove any dirt or debris that could affect the restoration. For severe cases of damage, such as scratches or dents, consider professional fleet repair services or paintless dent repair techniques.
Additionally, prepare your workspace by covering nearby surfaces with protective cloths or sheets to avoid damaging surrounding areas. Ensure proper ventilation and lighting, as this will facilitate a more precise restoration process. By taking these preparatory steps, you’ll be better equipped to achieve optimal results in Tesla black paint restoration, ensuring your vehicle looks as good as new.
Step-by-Step Guide to Restoring Tesla Black Paint
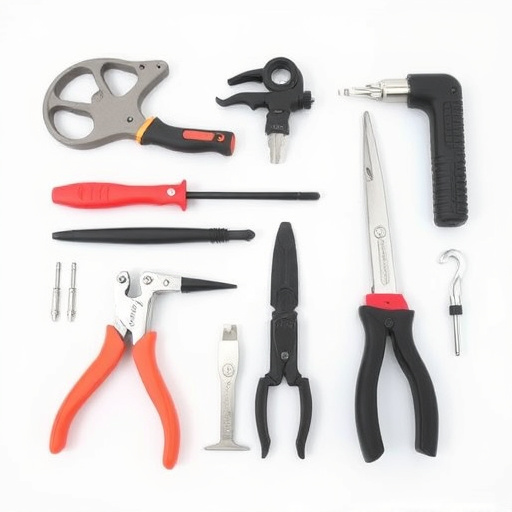
Restoring Tesla black paint involves a meticulous process to revive its glossy finish. Begin by inspecting the damaged area thoroughly, identifying chips, scratches, or stains. Prepare a dedicated workspace with proper ventilation and gather essential tools including fine-grit sandpaper, automotive polish, a buffer, and a high-quality microfibre cloth.
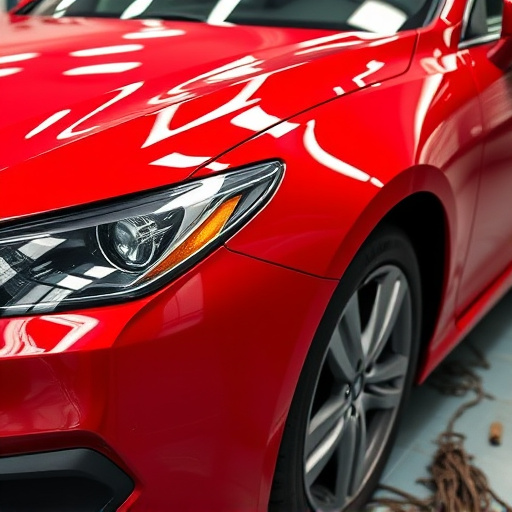
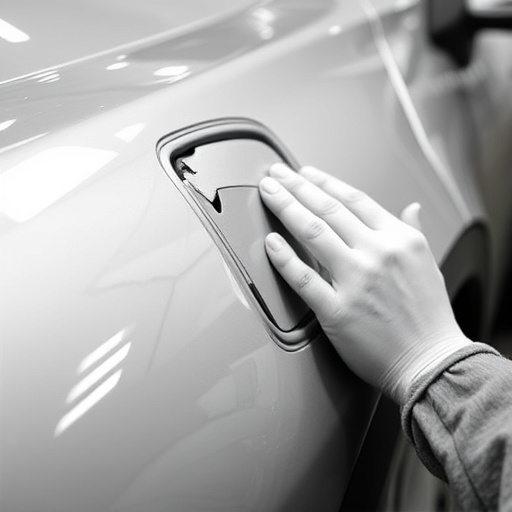
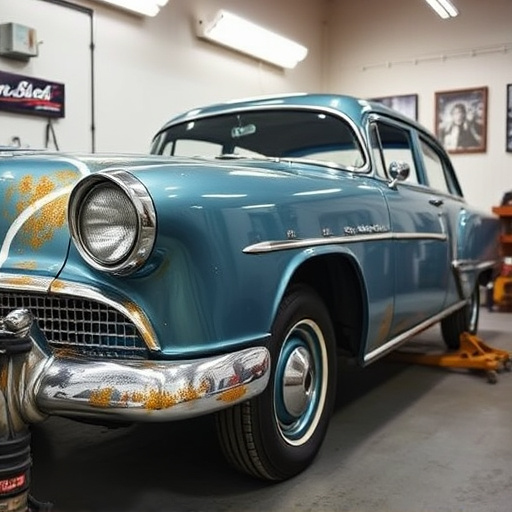
Next, gently sand the affected zone using the sandpaper, starting with a coarse grit to remove visible imperfections and then transitioning to finer grits for a smooth finish. Wipe away dust and debris with the microfibre cloth. Apply automotive polish evenly over the treated area, allowing it to dry slightly. Utilize the buffer to buff out the polish, revealing a restored, glossy black surface akin to a classic car restoration. For more severe damage, consider professional Tesla bumper repair for optimal results.
Restoring your Tesla’s black paint is a worthwhile investment to revive its sleek, factory finish. By understanding the common causes of damage and properly preparing for the process, you can achieve exceptional results. Following the step-by-step guide ensures a meticulous approach to removing scratches, restoring gloss, and protecting against future imperfections. With dedication and the right tools, you’ll have your Tesla looking as good as new, enhancing its overall aesthetic appeal.